Set up your document
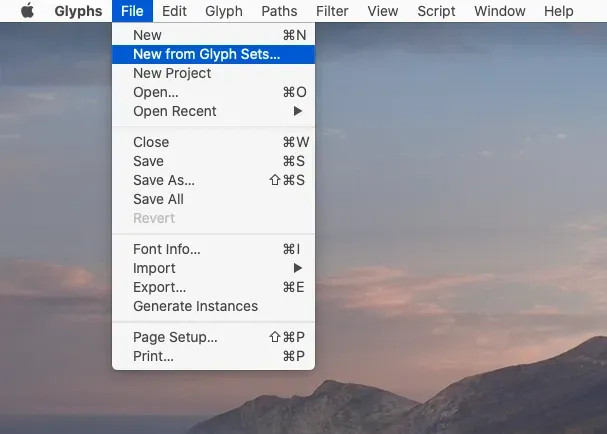
When you start Glyphs, you will be either greeted by the Start Window, or you can bring it up any time later through File > New from Glyph Sets:
In the document building dialog, you simply choose the scripts you want to include. To get started, I recommend to first select Arabic. Scripts are listed alphabetically, so, depending on the localization, it will usually be displayed right at the top. Then turn on the option to prepare glyphs:
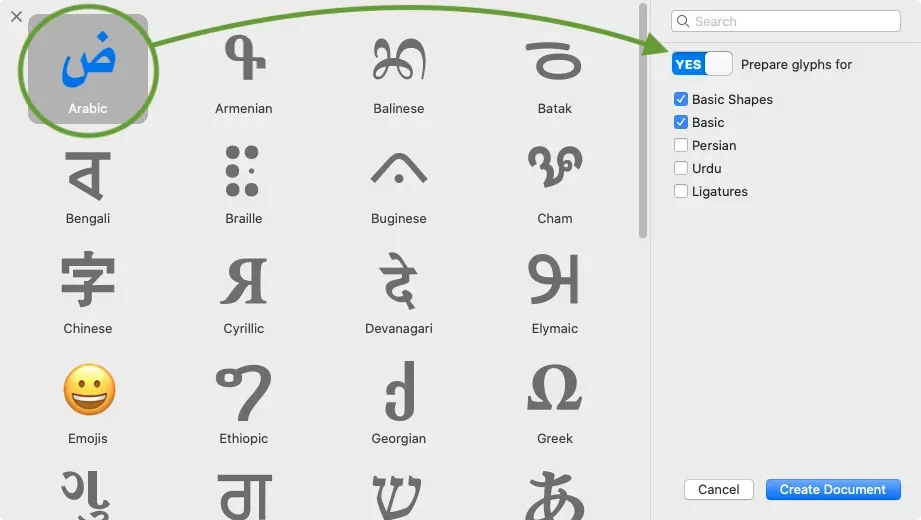
… and choose the subsections of Arabic you want to include. For starters, I recommend Basic Shapes, and perhaps Basic too.
Don’t worry about what you have not selected yet. You can always add more glyphs at a later time. Here is how. Even if you start with an empty document, you can add glyphs in multiple ways. The easiest way is via the sidebar in Font view (Cmd-Opt-1): In the Languages section, open Arabic (add it through the plus button if it is not listed yet), right click on any of the subsections with number badges, e.g. Basic Shapes, and choose the glyphs you want to add from the list of Missing Glyphs that appears, or simply choose all of them:
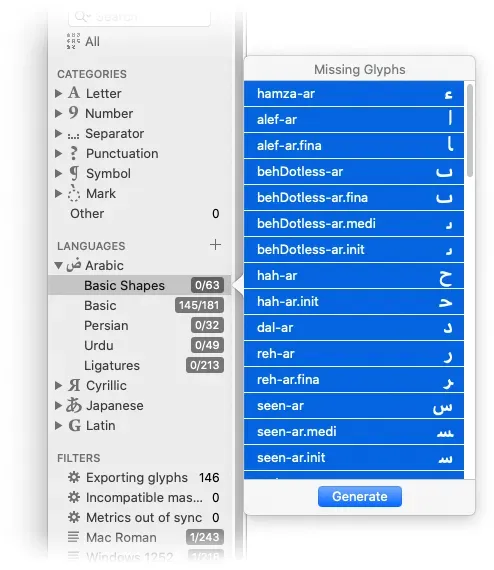
Then press Generate to add the selected glyphs to your font. The number badge will turn into a check mark once every glyph has been included in the font, simply to indicate that this section is complete.
Start with Basic Shapes
Okay, so let’s select Arabic > Basic Shapes in the sidebar, so Font view will only display relevant glyphs. Of course, you can start with anything, but the Basic Shapes are indeed a good place to start because it contains shapes that are reused a lot in other glyphs.
I like to start with the ‘dotless beh’. If you can read Arabic, you will probably say, ‘Wait a minute, there is no beh without a dot, the beh always has a dot underneath.’ And you are right, of course. Though, imagine for a moment that you take the beh, but leave out its dot. Then you end up with a shape that you can reuse for the teh and the peh, some positional forms of it even for the yeh and the noon. Makes sense. And that is what we refer to as a ‘basic shape’.
The glyphs we are looking for are all called behDotless-ar, indicating the dotless beh of the Arabic script, and the positional variants will have additional dot suffixes .fina for the final or terminal position, .medi for the medial position, and .init for the initial position. The one without a suffix is the isolated shape. The four-letter suffixes correspond to the OpenType features with the same tags, in case you wondered. So let’s find and select them:
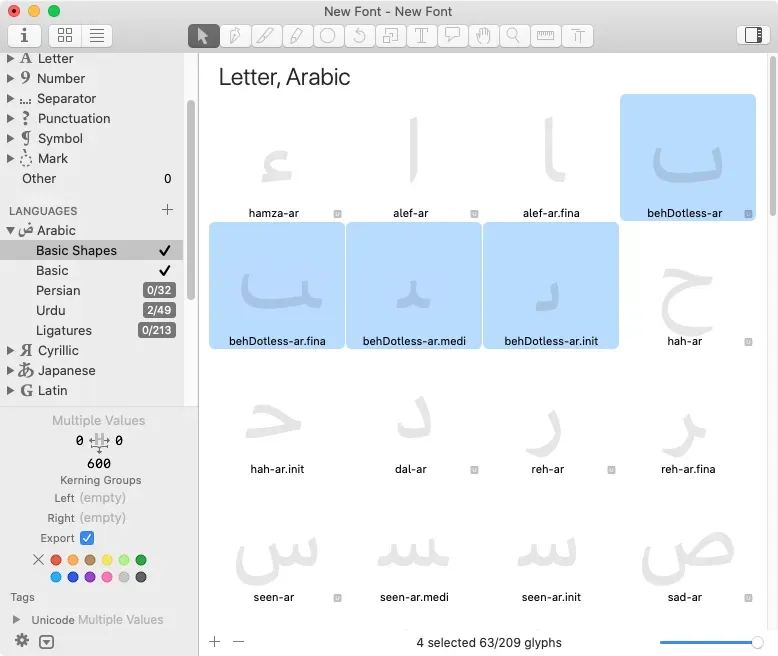
… and open a new Edit tab with them (as opposed to the Font tab we already have), either by choosing View > New Tab or by pressing the corresponding keyboard shortcut Cmd-T:
 unknown node
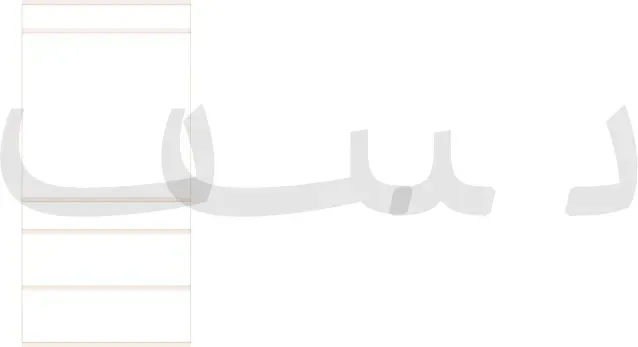
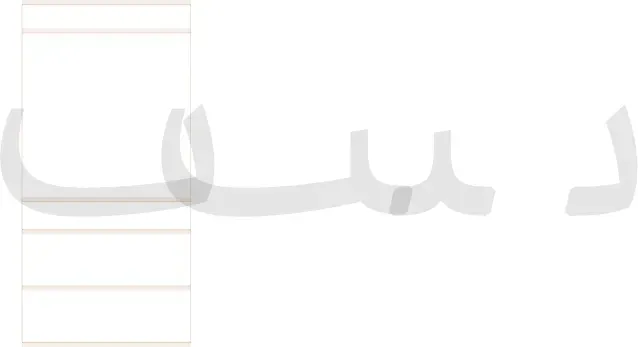
Now you see, the four variants of the dotless beh are written next to each other in this Edit tab, and the isolated behDotless-ar is open for editing on the left. Don’t be confused: all four glyphs are as empty as can be. The grey shapes you see are mere placeholders, making the glyph identifiable as long as it is still empty. They will disappear as soon as you draw anything in them.
So let’s start drawing the isolated dotless beh. A good departing point is to draw a skeleton line with the Draw tool (shortcut P), and take the vertical metrics as a reference (View > Show Metrics, Cmd-Shift-M, and View > Show Metrics Names).
Add extremums to it with Paths > Add Extremes, and clean up the path with Paths > Tidy up Paths (Cmd-Shift-T) or removing individual nodes by selecting them with the Select tool (shortcut V) and pressing the Delete key on your keyboard. You may end up with something like this: